
A quality wood bed frame at a furniture store runs $400-$1,200 for something you could build yourself in a weekend for a fraction of that. These DIY bed frame plans build a solid, platform-style queen bed frame — no box spring needed — for well under $150 in materials, using basic tools and straightforward joinery.
What You'll Need
Materials (Queen Size)
- 8 — 2x6x8 boards (frame rails and slat supports)
- 10 — 1x4x8 boards (mattress slats)
- 4 — 4x4x18" post legs (or pre-cut bed legs)
- 1 box — 3" wood screws
- 1 box — 2" wood screws
- Wood glue
- Stain or paint of choice
Tools
- Circular saw
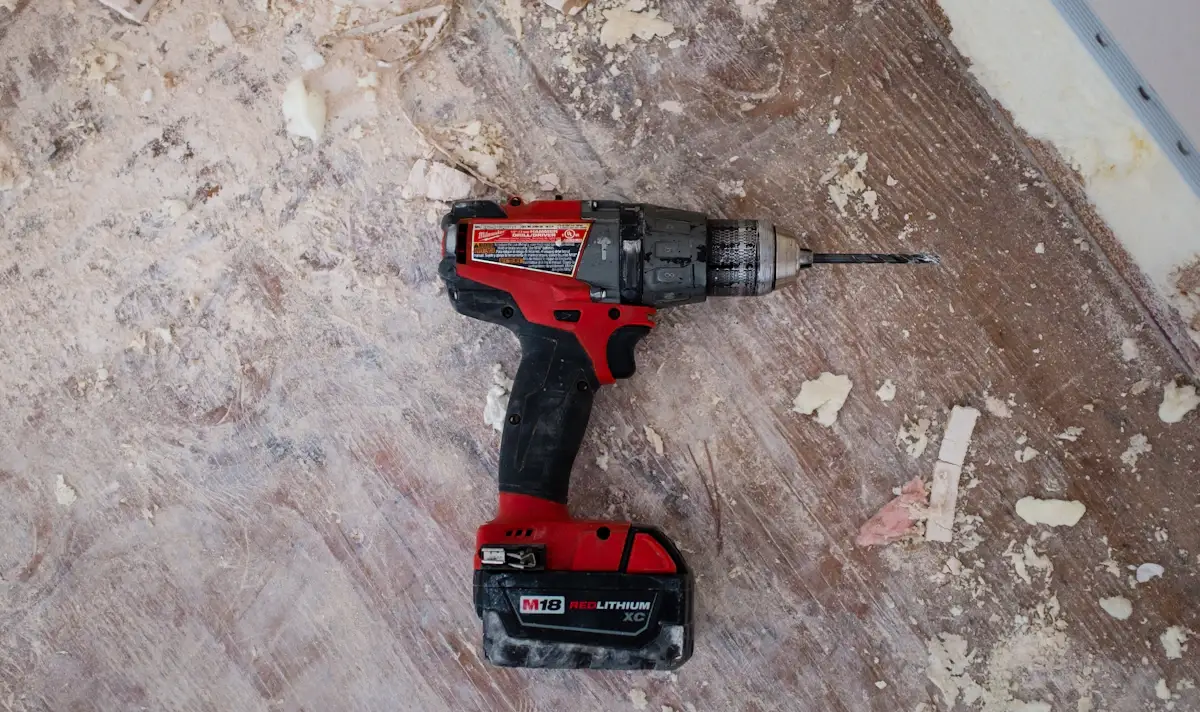
- Cordless drill/driver
- Tape measure and speed square
- Level
- Clamps
Step 1: Build the Perimeter Frame
Cut two 2x6s to 80" (the side rails) and two to 60" (the head and foot rails) for a standard queen footprint. Join the corners with 3" screws driven through the side rails into the ends of the head and foot rails, reinforced with wood glue. Check every corner with a speed square as you go — this frame sets the shape for everything else.
Step 2: Attach the Legs
Position a 4x4 leg inside each corner of the frame, flush with the top edge, and secure with 3" screws driven through the rail into the leg from both directions. For extra rigidity, add a diagonal corner brace of scrap 2x4 across the inside of each corner.
Step 3: Add the Center Support Rail
A queen or king bed needs a center support running the length of the bed to prevent the slats from sagging in the middle. Cut a 2x6 to 80" and attach it between the head and foot rails, supported by an additional leg or two along its length resting on the floor.
Step 4: Install the Slat Ledger
Attach a 1x4 ledger strip along the inside of both side rails and the center support, about 1 inch below the top edge — this is what the mattress slats will rest on. Screw it in every 12 inches along its length.
Step 5: Cut and Lay the Slats
Cut your 1x4s to span from one side rail to the other, resting on the ledger strips. Space them roughly 2-3 inches apart across the width of the bed — closer spacing gives a firmer, more supportive base, especially important for foam mattresses. Screw each slat down at both ends and at the center support.
Step 6: Sand and Finish
Sand all visible surfaces through 120 and then 220 grit, paying extra attention to corners and edges the mattress and bedding will touch. Apply stain or paint, followed by a protective topcoat if desired. Let everything cure fully — usually 24-48 hours — before making the bed.
Sizing for Other Mattress Sizes
- Twin: 39" x 75" frame footprint — reduce the side rails to 75" and head/foot rails to 39"
- Full: 54" x 75" — side rails 75", head/foot rails 54"
- King: 76" x 80" — side rails 80", head/foot rails 76", and add a second center support leg
The build process stays identical across sizes — only the rail lengths and number of slats change.
Want Headboard and Storage Options?
This plan covers the core platform frame. If you want a matching headboard, built-in under-bed drawers, or a upholstered design, a dimensioned plan saves significant trial and error. Ted's Woodworking includes multiple bed frame variations with full cut lists, alongside 16,000+ other furniture and home project plans.
Before You Start: Get Comfortable With the Basics
This build uses straightforward joinery, but if you're brand new to woodworking, practicing on a smaller project first builds confidence and skill. A basic workbench uses nearly identical techniques — frame construction, squaring, screwing into legs — at a smaller, more forgiving scale. For the complete project roadmap, see The Complete Guide to DIY Home Improvement.
A Bed Frame Built to Last
Solid wood, properly joined, comfortably outlasts most flat-pack furniture — and at a fraction of retail furniture prices. This frame is heavy, stable, and simple enough to repair or modify years down the line, which is more than most store-bought frames can say.